There are two ways to create a Location List - via the Create List API, or via your Loqate account at account.loqate.com. In this guide we’ll take you through the process of creating, editing and deleting Location Lists within the account section. These lists can then be used in our Distance Finder API to calculate distances between an end user and your stores (or other locations).
A Location List should contain all the information you want to display to customers about your stores, including their names, co-ordinates and their IDs. It can also contain additional information (such as a description of each location, opening times, and address), to provide further context that your end users might find helpful.
- Creating a Location List
- Uploading locations
- Viewing and editing locations
- Deleting a list
- Finding an existing list
Creating a Location List
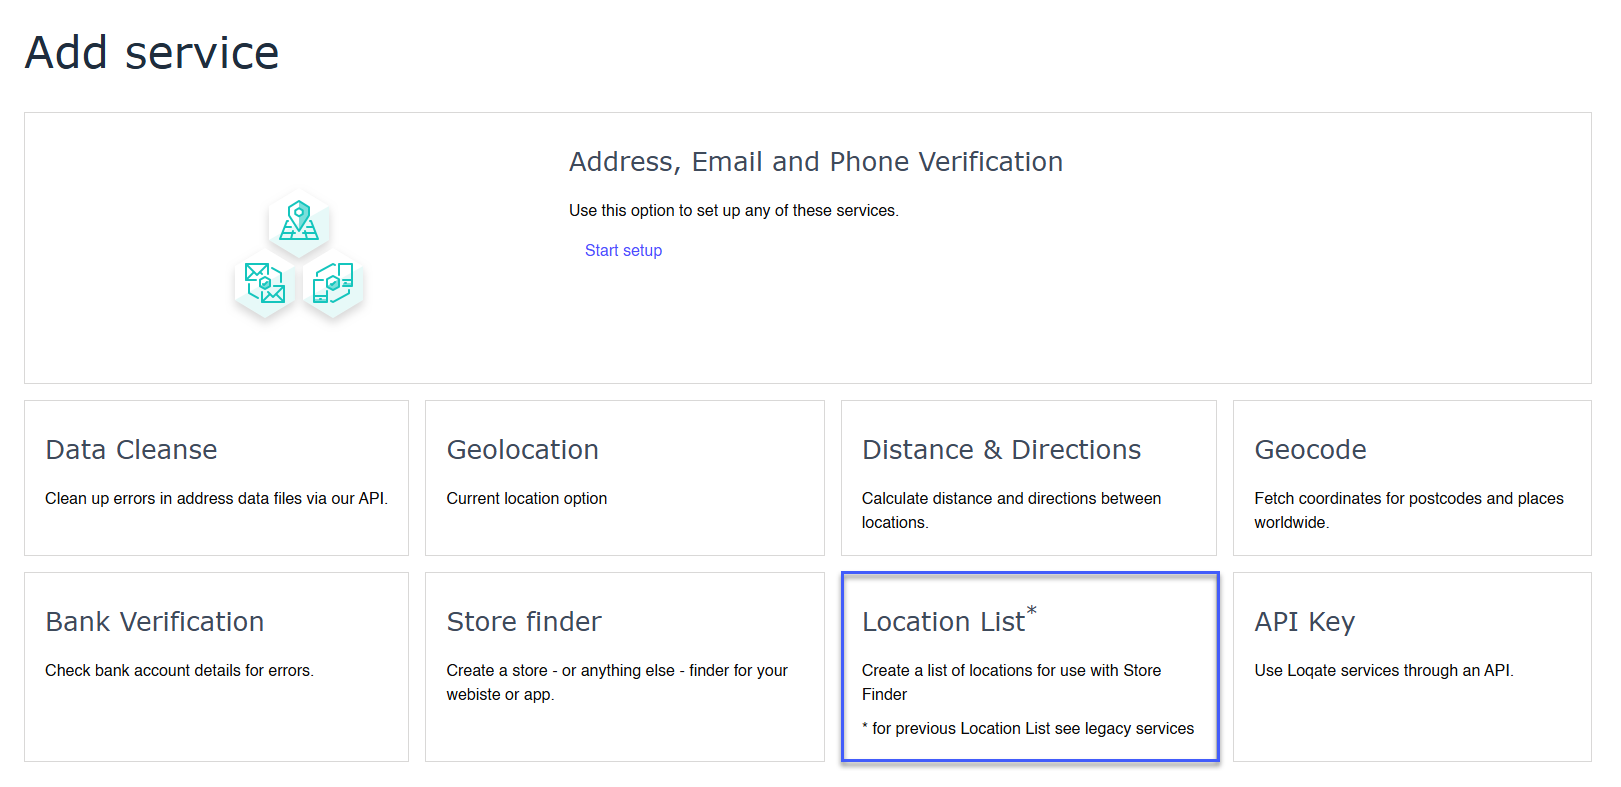
To create a new Location list, go to the Add Service page in your account section and select Location List from the grid of service options.
Naming your list
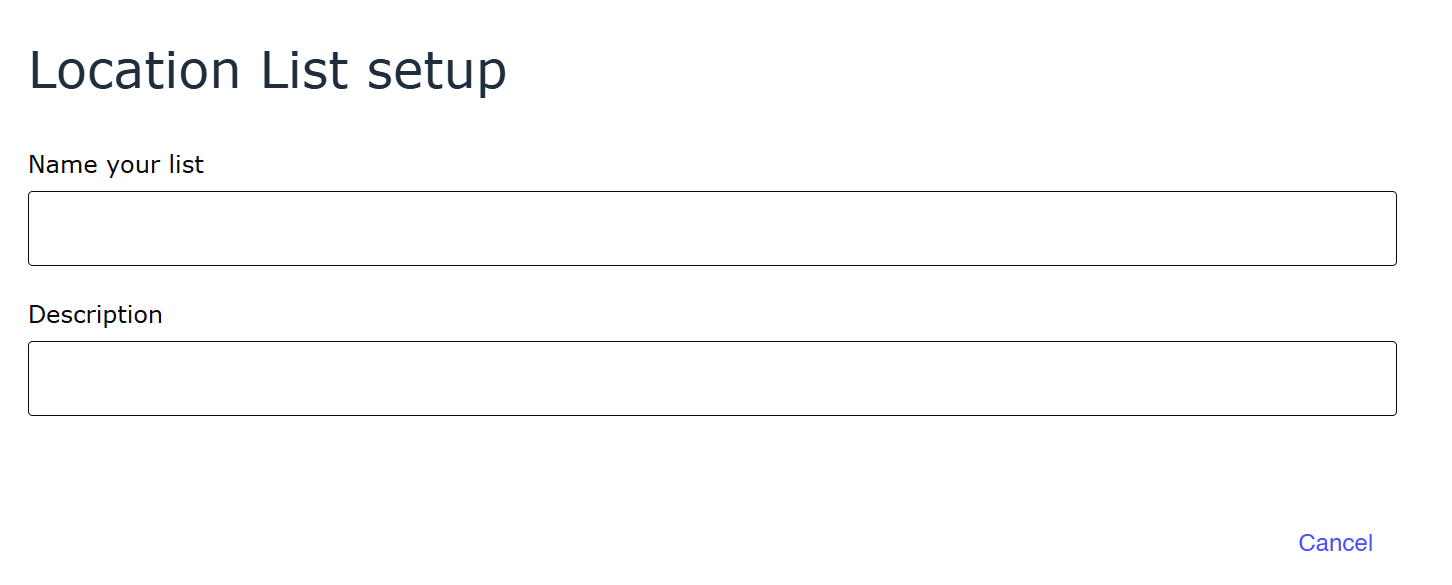
This will open the Location List setup screen where you can give your list a name and description. We recommend you give your list a clear, easy to remember name and description for easier identification later on.
Uploading your locations
Once you have given your list a name, the option to upload your list as a CSV file will appear.
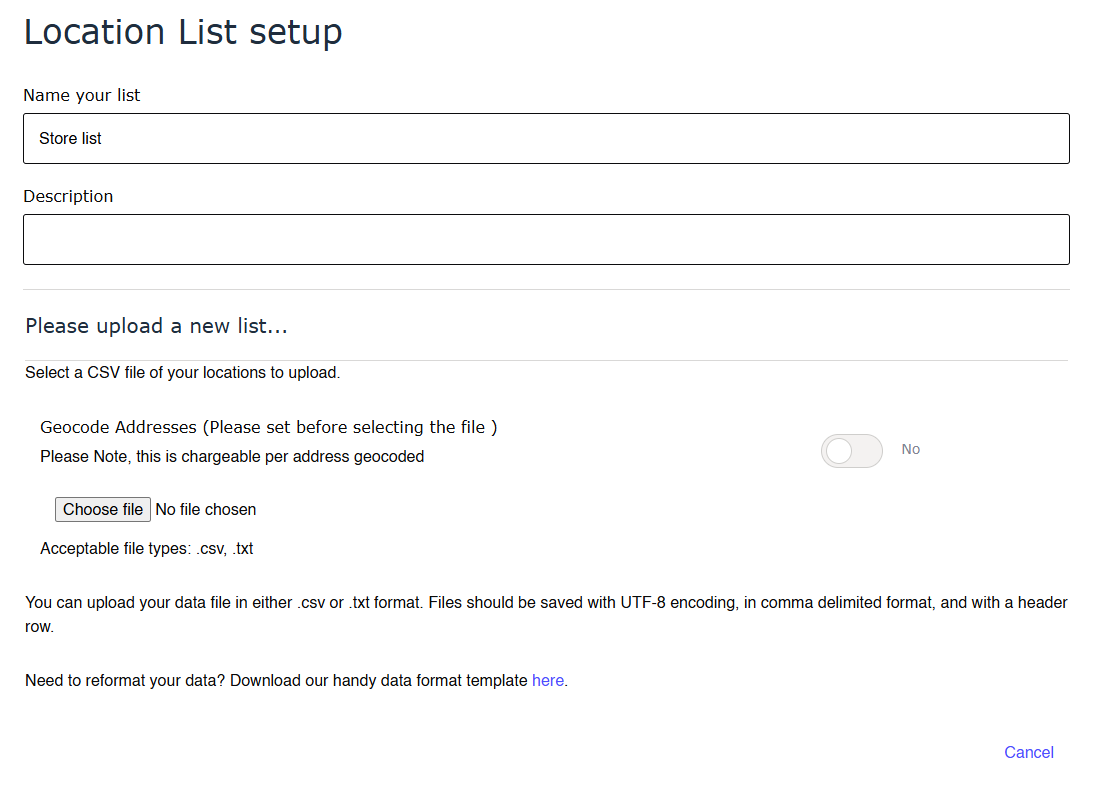 Any CSV file you upload must contain the mandatory headers of Name, Description, Address, Latitude and Longitude, while it can also contain additional optional headers related to store opening hours. You can download an example CSV template at the bottom of the page.
If you want to geocode your locations (i.e. you have the addresses but no co-ordinates), you can select the Geocode Address toggle and we will append those for you up to a maximum of 500 locations per list.
Any CSV file you upload must contain the mandatory headers of Name, Description, Address, Latitude and Longitude, while it can also contain additional optional headers related to store opening hours. You can download an example CSV template at the bottom of the page.
If you want to geocode your locations (i.e. you have the addresses but no co-ordinates), you can select the Geocode Address toggle and we will append those for you up to a maximum of 500 locations per list.
Please note that each address geocoded constitutes one geocoding charge against your account. When using this option please ensure that you have a valid address for each line in your CSV, otherwise the upload will fail.
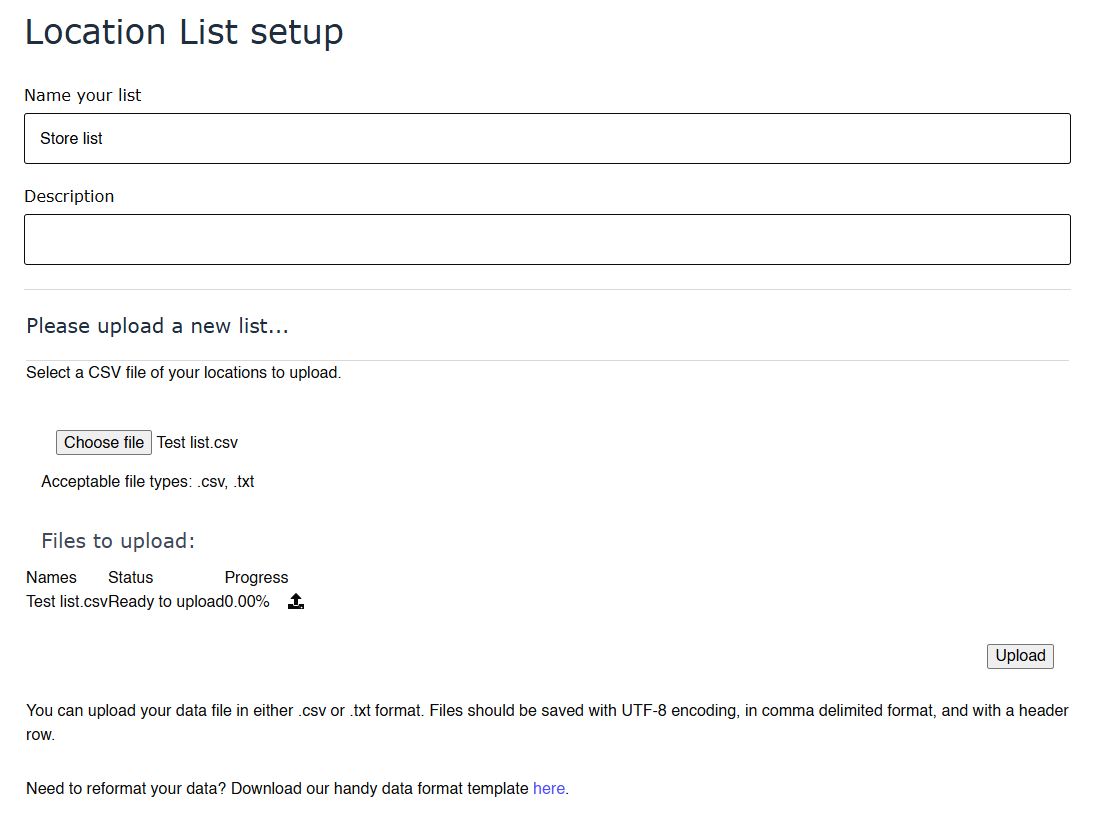 You’ll see the name of your selected file displayed underneath, along with its upload status.
When locations are uploaded they are automatically assigned an ID. This means that if you download a list at a later date you can edit the fields of individual locations and, provided you don’t change their IDs, can reupload it to modify an existing list.
Viewing and editing locations
Once a list has been uploaded, you can go to the Locations tab to view all of the locations within that list. You can use the search field to filter through these if required, or select Download list to export the list back to a CSV file.
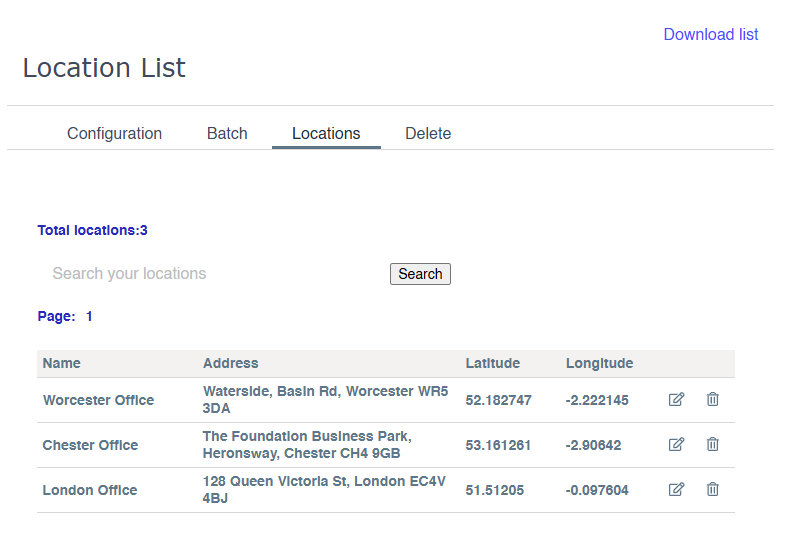 From here you can either edit or delete individual locations. To delete a location, click the bin icon on the relevant line of the table.
Click the notepad icon next to a location to edit it - this will take you to the following screen.
From here you can either edit or delete individual locations. To delete a location, click the bin icon on the relevant line of the table.
Click the notepad icon next to a location to edit it - this will take you to the following screen.
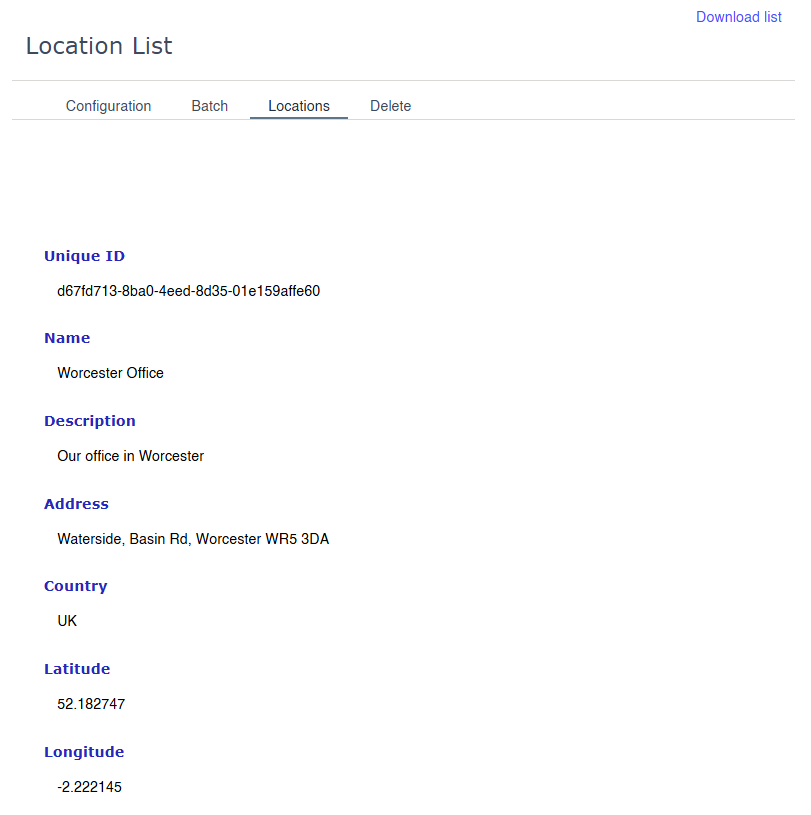 From here you can edit each of the individual fields associated with a location, including opening times.
Deleting a list
If you decide that you no longer need a Location List, you can remove it in the Delete tab.
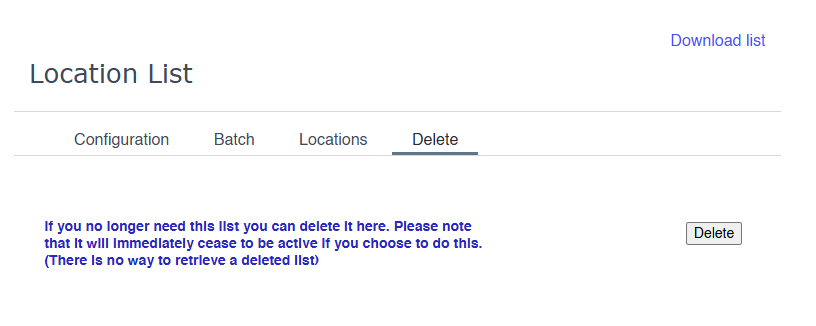
Please note that deletion is permanent as we do not keep backups once a list has been marked as deleted.
Finding an existing list
Once you have created a list, you’ll need to know where to find it in your Account section if you want to edit or delete it in future.
To do this, start by heading to Your Services in your account section.
From there you will be presented with a list of your installations, API keys and Location Lists. You can filter through these by using the search bar.
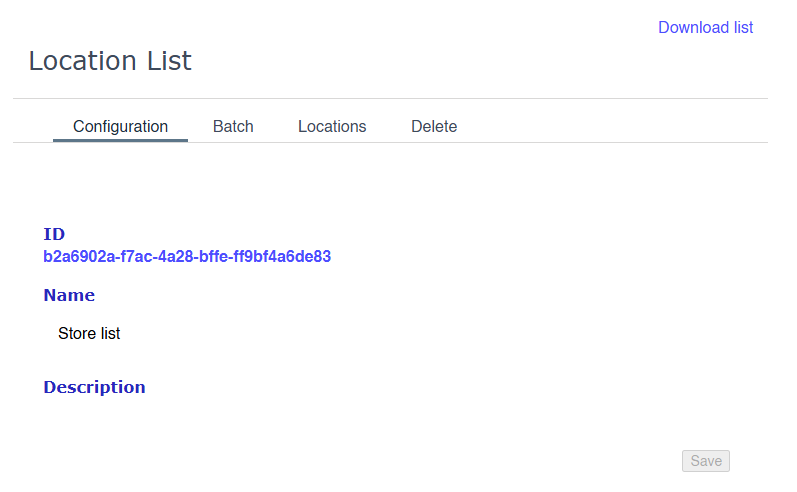
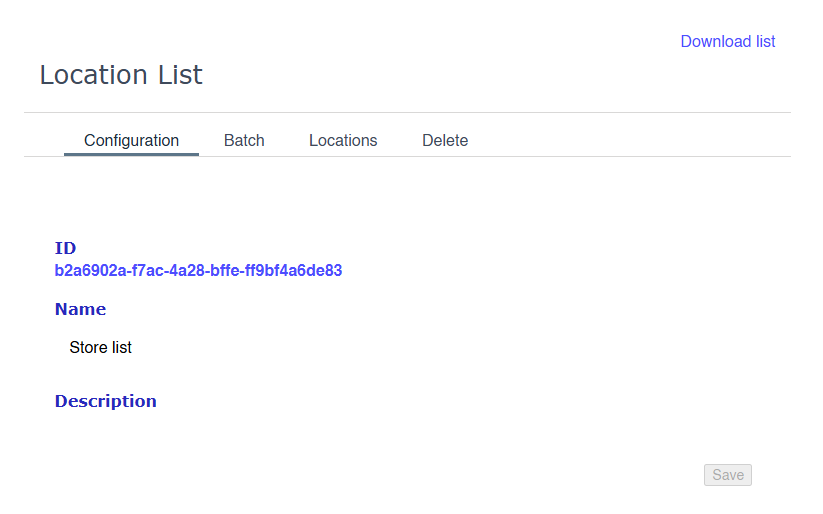
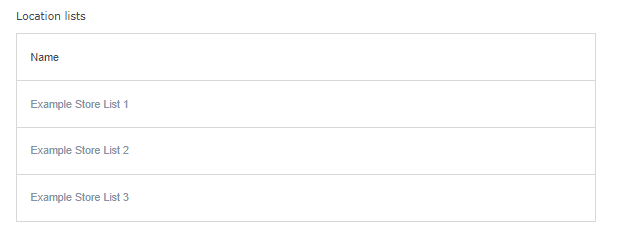 Once you have found your list, select it to go to the Configuration screen for that list.