1. Create a Loqate account
Sign up for a Loqate account. New accounts include a 45-day free trial.2. Choose an integration method
You can integrate with Loqate using auto-generated code snippets placed in your website’s<head> tag or full API integrations.
This guide focuses on API integration. For all integration options, see the Ways to Integrate page.
3. Create an API key
All Loqate services require an API key for authentication. For initial testing, create a generic API key. Follow the steps in Create an API Key.4. Make a test API call
Make a test call using your API key to verify it. Here’s an example of an Address Capture Find call you can run in an API client or your browser.GBG and the postcode WR5 3DA.
The response should be this:
5. Check your usage
Navigate to the Reporting page in your account to see usage summaries per key or across your account. This shows both charged and free requests and total costs.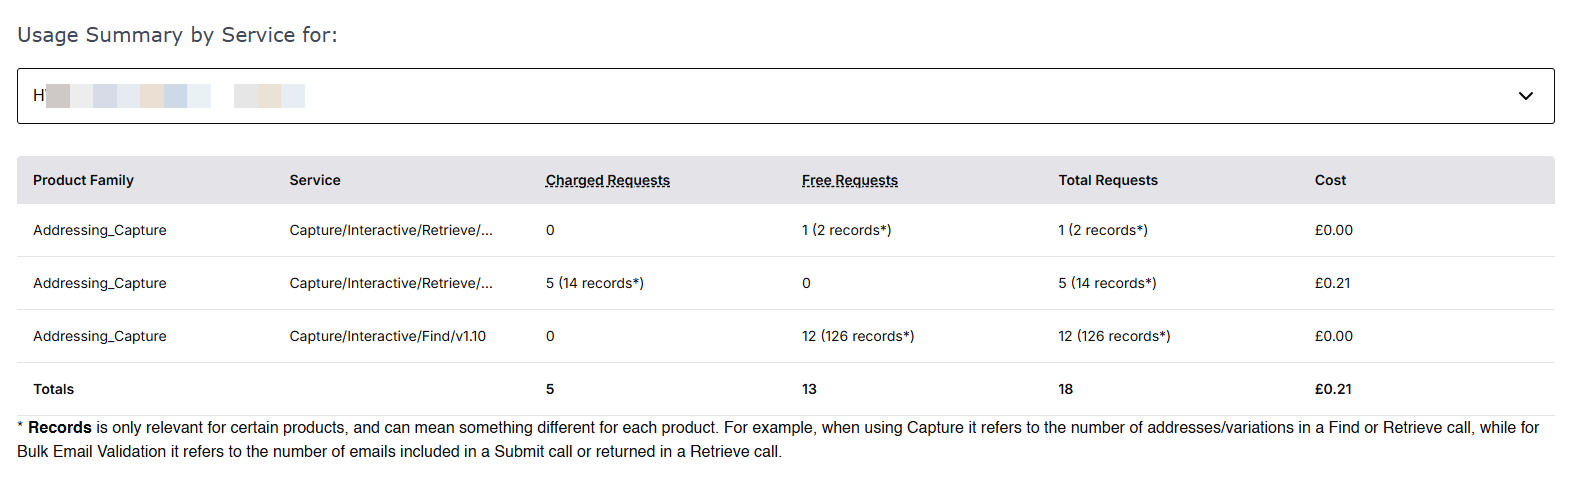 It’s recommended you regularly check usage on your keys to maintain visibility of how your services are being used. For full details, see the Monitoring Account Usage page.