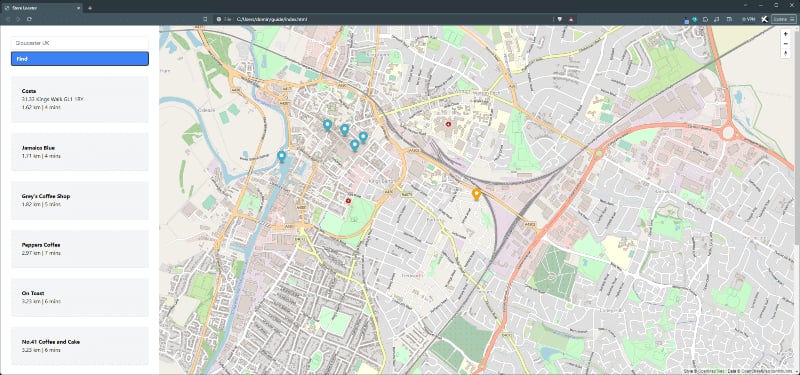

- Capture an end user’s location and convert this to co-ordinates
- Calculate the closest stores to that end user from your Location List
- Display those stores (and information associated with them) in a UI panel
- Display the end user location and stores on a map
Note that this guide is specific to setting up a Store Finder using JavaScript, which is the only supported integration currently.
As mentioned above this guide focuses on using MapLibre for rendering, however other open source libraries are available for this - such as Leaflet and Tanagram.
As mentioned above this guide focuses on using MapLibre for rendering, however other open source libraries are available for this - such as Leaflet and Tanagram.
- Prerequisites
- Creating the HTML for your application
- Adding an interactive map
- Adding geocoding
- Displaying store information and markers
- Attribution statement
Prerequisites
Before getting started it is essential that you understand some of the key concepts of a Store Finder and have everything set up to start building. You should:- Read the How Does a Store Finder Work guide, which explains some of the core concepts behind our APIs
- Create a Store Finder service in your account, which will enable the appropriate keys to access our APIs
- Create a Location List via either the UI or our Create List API
Creating the HTML for your application
This step will cover setting the foundation of your Store Finder’s HTML, and will determine where the components we add later are placed.- Create index.html
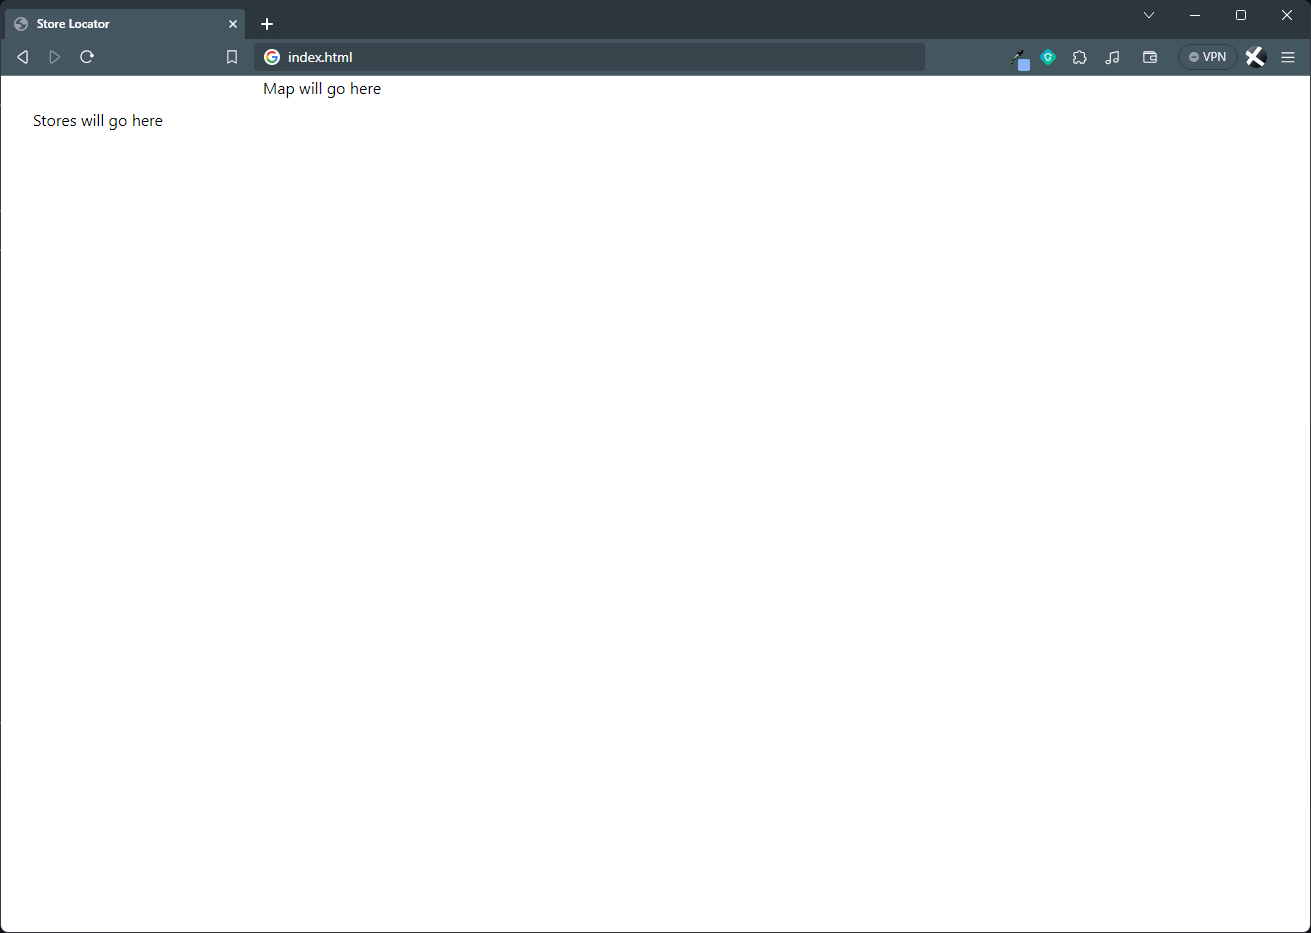
- Insert the following HTML, which will create the foundation for your Store Finder with a div on the right for where you map will be rendered and a div on the left for where your stores will be listed. Note that this includes a script reference for TailWind CSS to make styling easier, but you don’t need to do this if you’re using your own CSS styling.
- Save the file.
- View our additions so far.
Adding an interactive map
This step covers adding in the interactive map to your page so that your end user can visualise the results of a search. We use MapLibre as a rendering library for this, but other map renderers are available.- Open index.html
- Add the required dependencies and our Javascript entrypoint. Changes are marked within
<!-- NEW -->and<!-- END -->tags.
- Save the file.
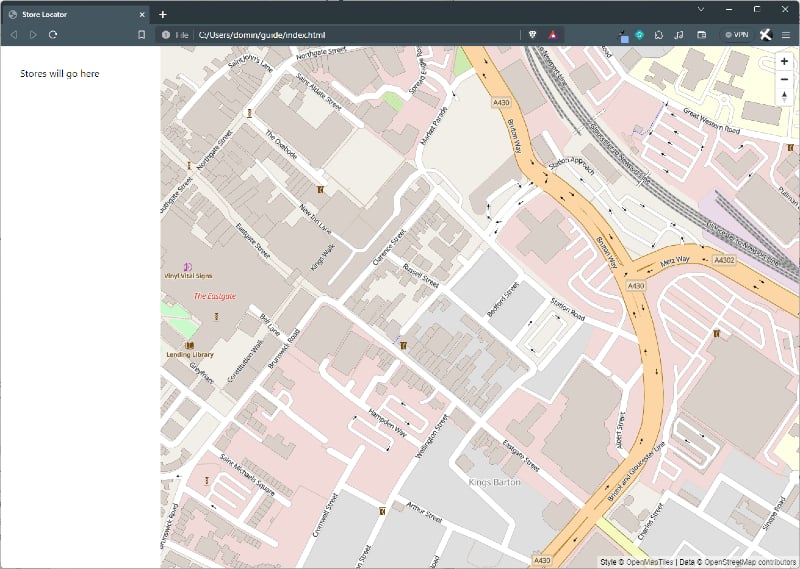
- Create index.js. In this section we cover a function to call our Map Tile API, which will return a signed URL that can be used to pull map tiles and style from Loqate. This URL is then passed into MapLibre along with a zoom level and co-ordinates of where to centre the map. If you’re setting up a Store Finder for a specific country, you could use the centre point of that country so that the map always starts there. In our example we’re setting the co-ordinates to Gloucester in the UK, and a zoom level of 16 (which is street level).
- Save the file.
- View our additions so far.
Adding geocoding
The next step is to add a way of capturing your end user’s address/postcode/city/locality and converting it into co-ordinates. Co-ordinates are required for us to do our distance calculation later in the guide. The following code will add a simple input field, a Find button to start the geocode process, and a marker to the map of where the end user is.- Open index.html
- Add the following addition to index.html, which adds the text input field and Find button. Changes are marked within
<!-- NEW -->and<!-- END -->tags.
- Save the file.
- Open index.js and add the following additions. The first code block wraps the call to our Geocoding API, while the second block is a helper function for adding markers to our map.
- Add the following to the main function. This adds an event handler to the Find button that will call our Geocoding API and then use the co-ordinates returned to add a marker to the map and move to that location.
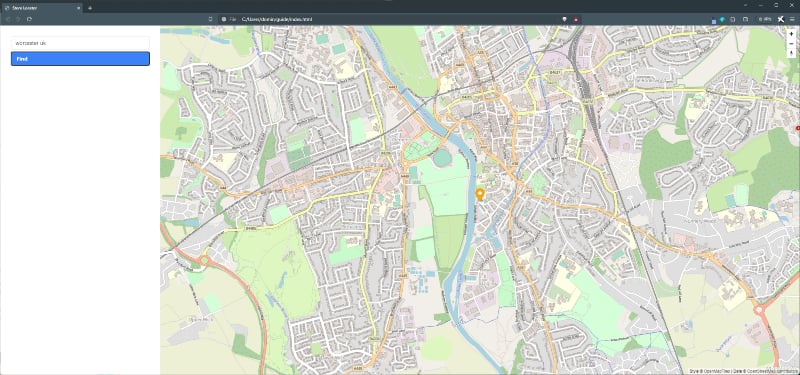
- View what we have so far. You can type an address into the text box and click Find - the map should then update with the location you entered pinned on the map.
Displaying store information and markers
This next step is to retrieve the closest stores to the end user and display these in the left pane, along with markers on the map. This requires the use of a previously uploaded Location List either via our Create List API or the List Upload UI in your Account section.- Open index.html and add a Store container following our Find button div.
- Then add the following as the last element within the body section. This determines which pieces of store information will be displayed on the page.
- Open index.js and add the following, which sets the parameters for the call to our Distance Finder API, taking an origin location (where your end user is), the listID of your stores and other parameters such as the max distance.
- Add the following to index.js to add your store information to the left pane, and add a marker representing the store to the map.
- Update main to the following. This will make the call to our Distance Finder API and iterate through the results to display them in the UI and on the map. Remember to Update the locationListId variable with the desired Id of the uploaded list.
- You can now test by entering an address in the text box and clicking Find. This will update the map with locations close to the address entered.